 |
| Carriage pinion, eccentric, etc. |
 |
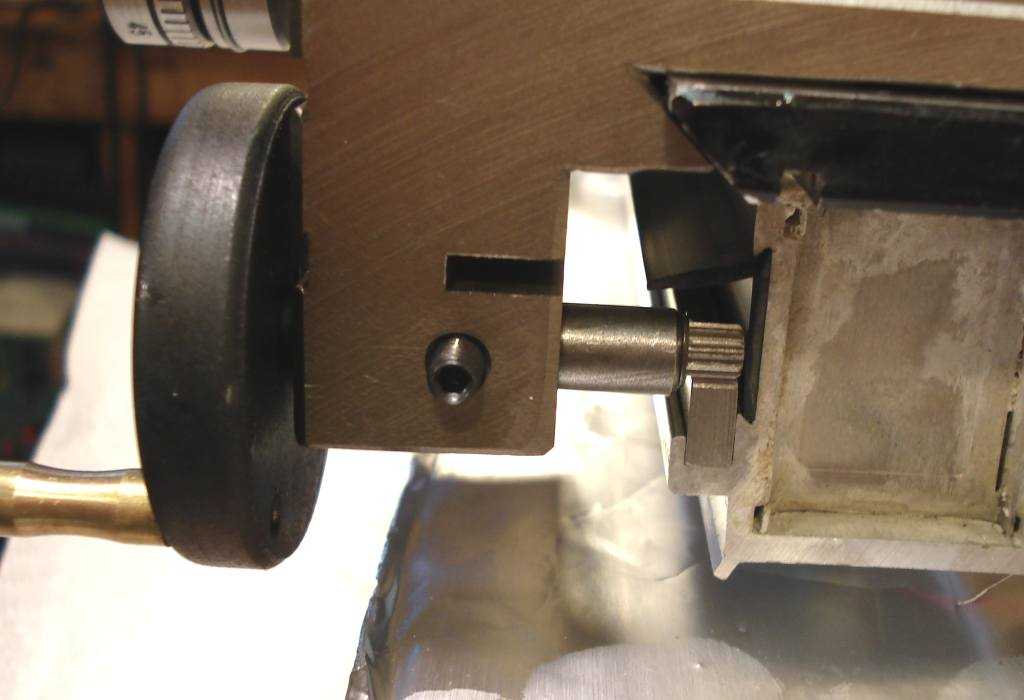
| The eccentric. |
 |
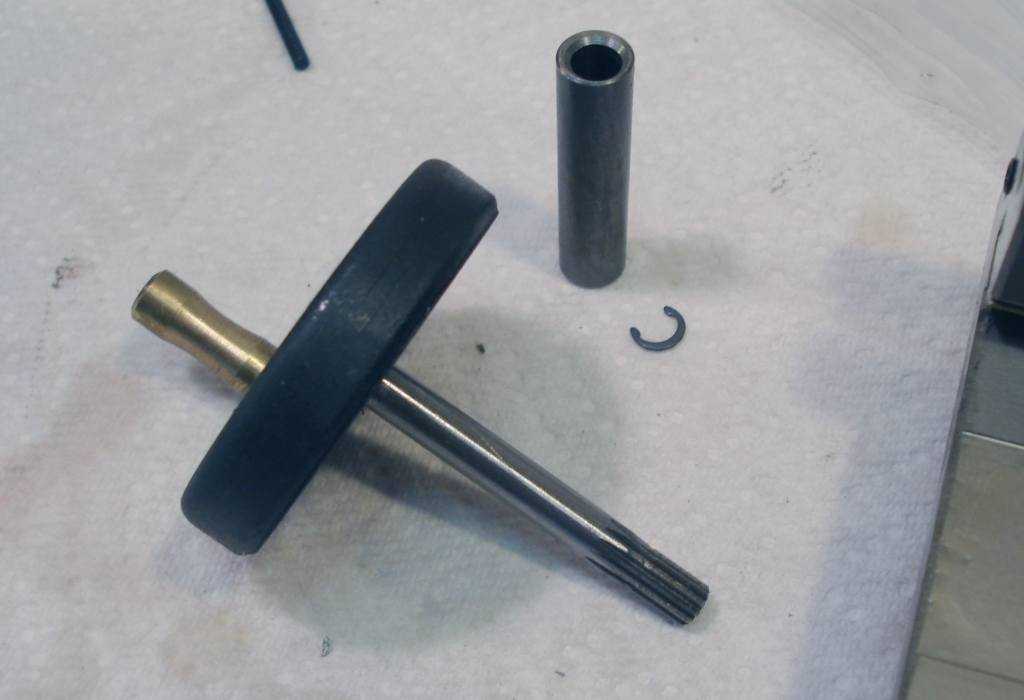
| Insert the eccentric bushing in the carriage. Make sure the thick side is against the locking screw. |
 |
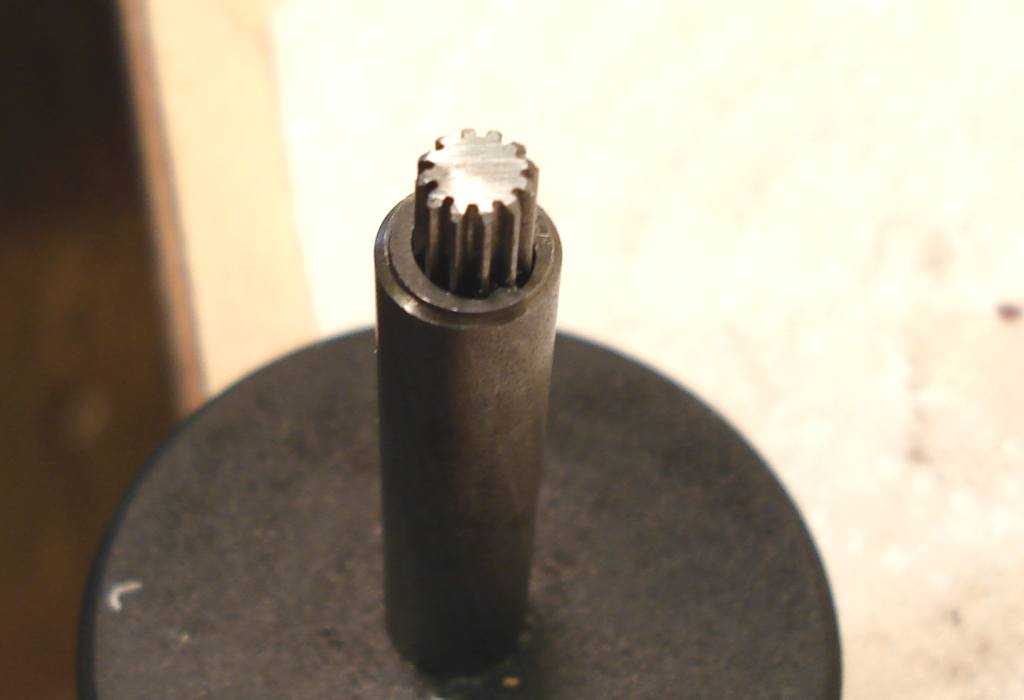
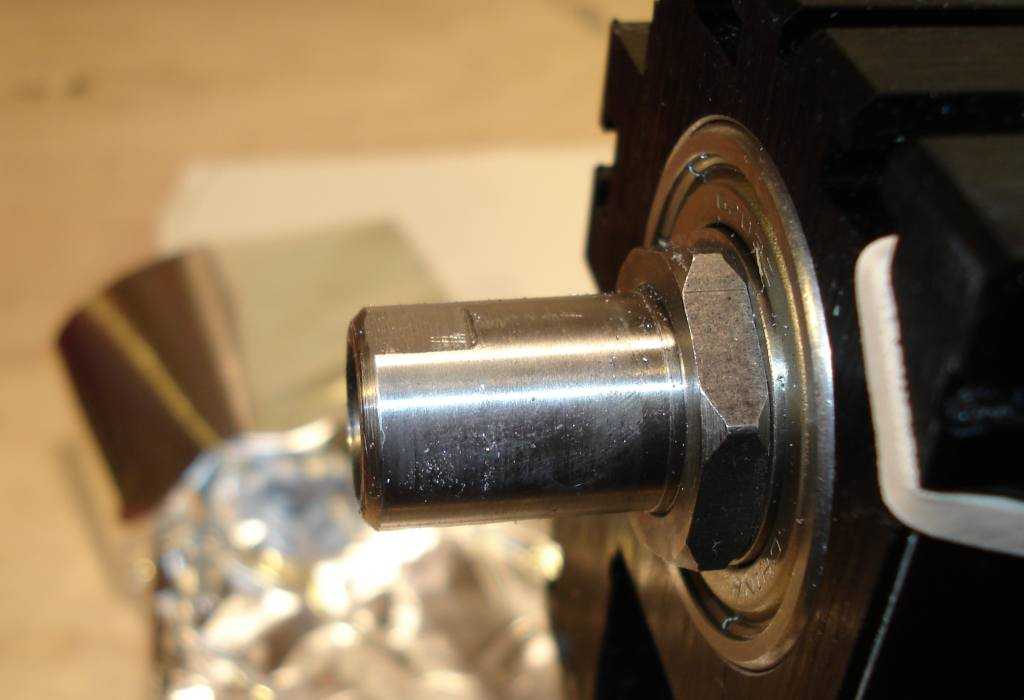
| The pinion sticks out the bushing. |
 |
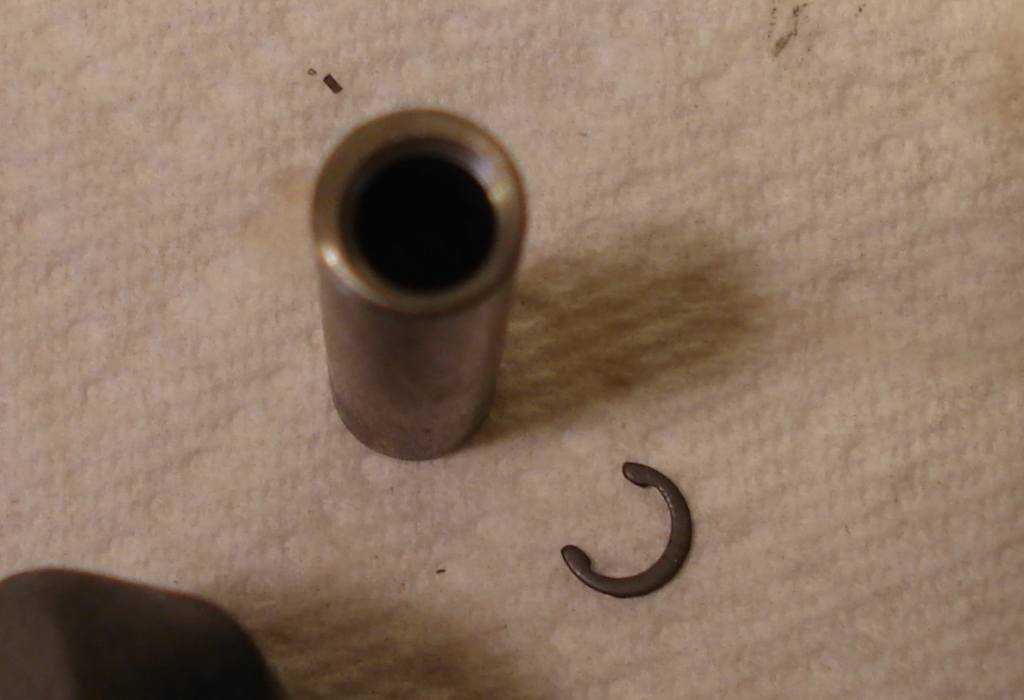
| For
some reason the groove that was used for the c-clip doesn't extend past
the bushing anymore. I think they have a ton of the pinions with this
old feature. |
 |
| The
c-clip slides on (it takes a while to line it up and get it on, be
patient...) but doesn't hit the groove. I usually leave the c-clip off
anyway as it makes cleaning easier. |
 |
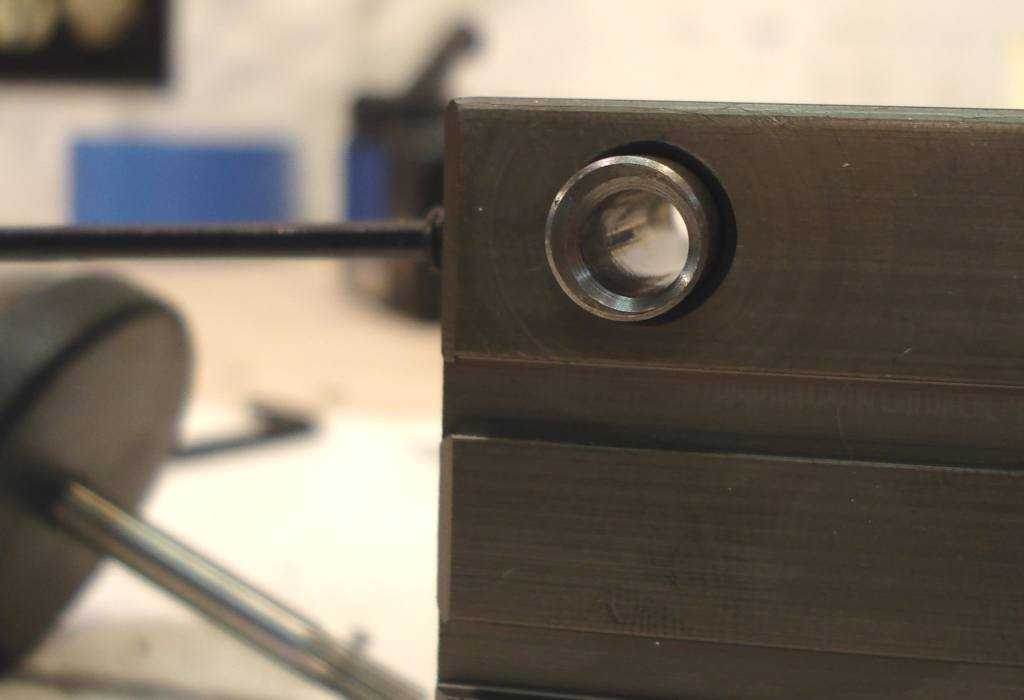
| How everything should look. |
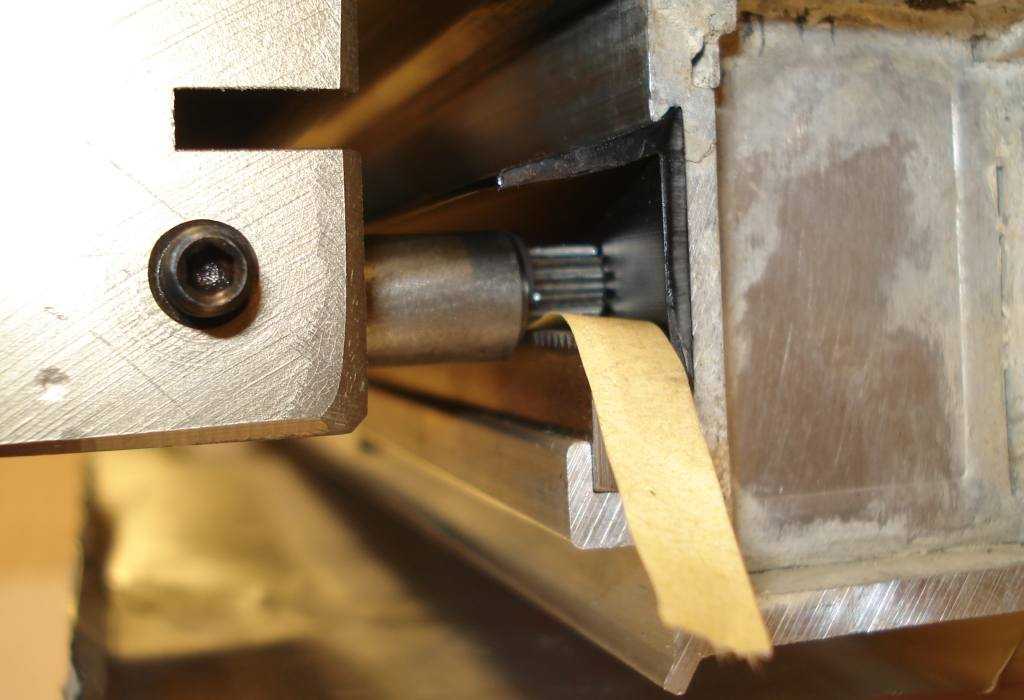 |
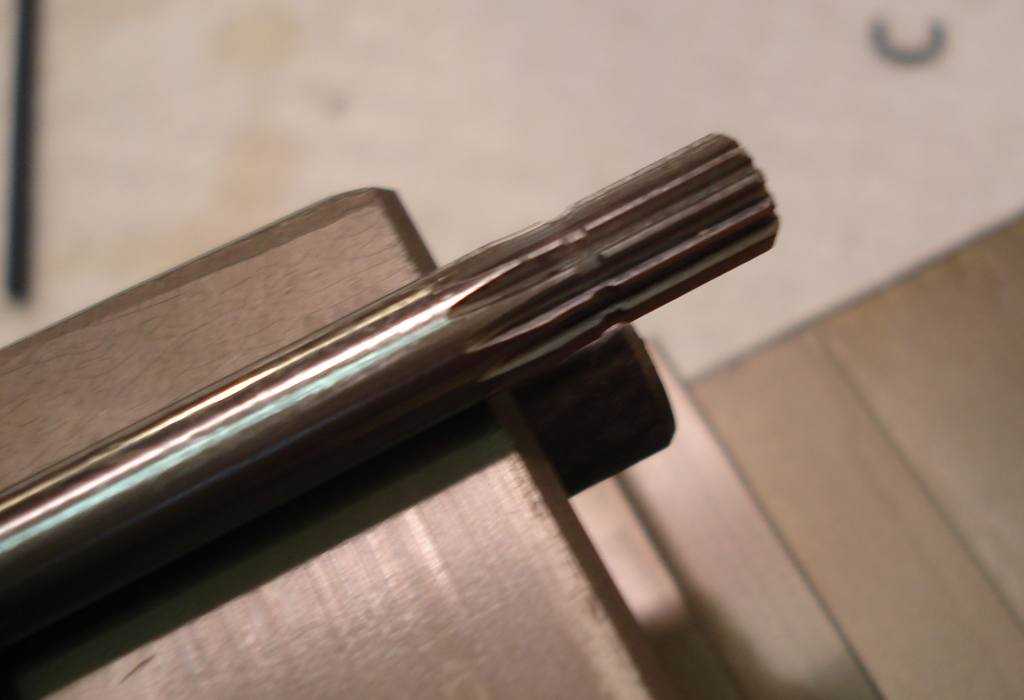
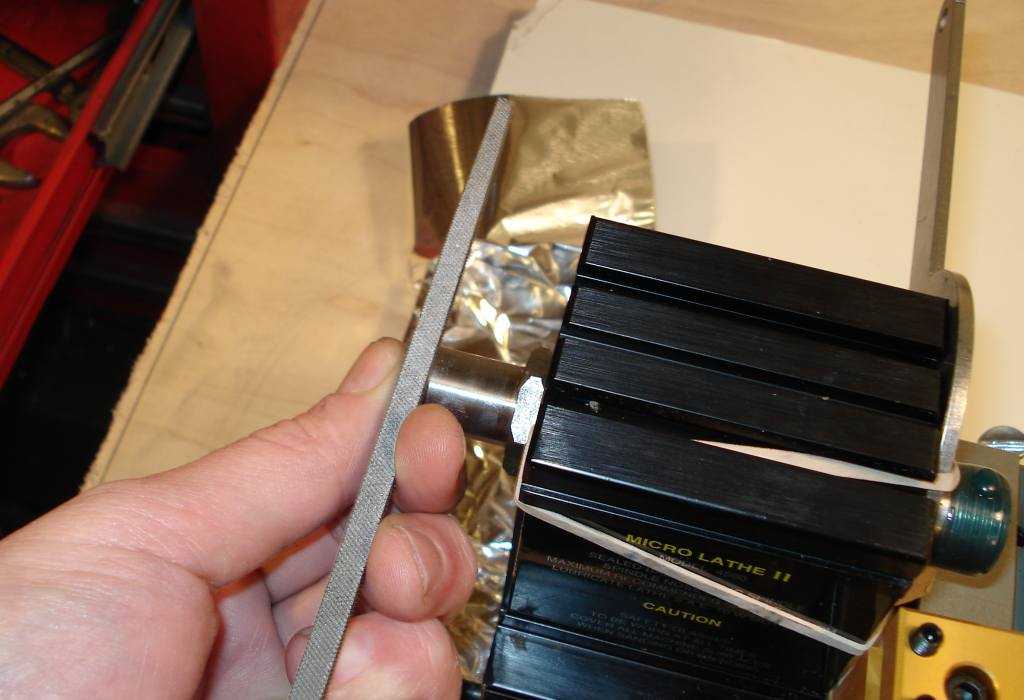
| Adjust the eccentric so that the pinion grabs a piece of paper between it and the rack. |
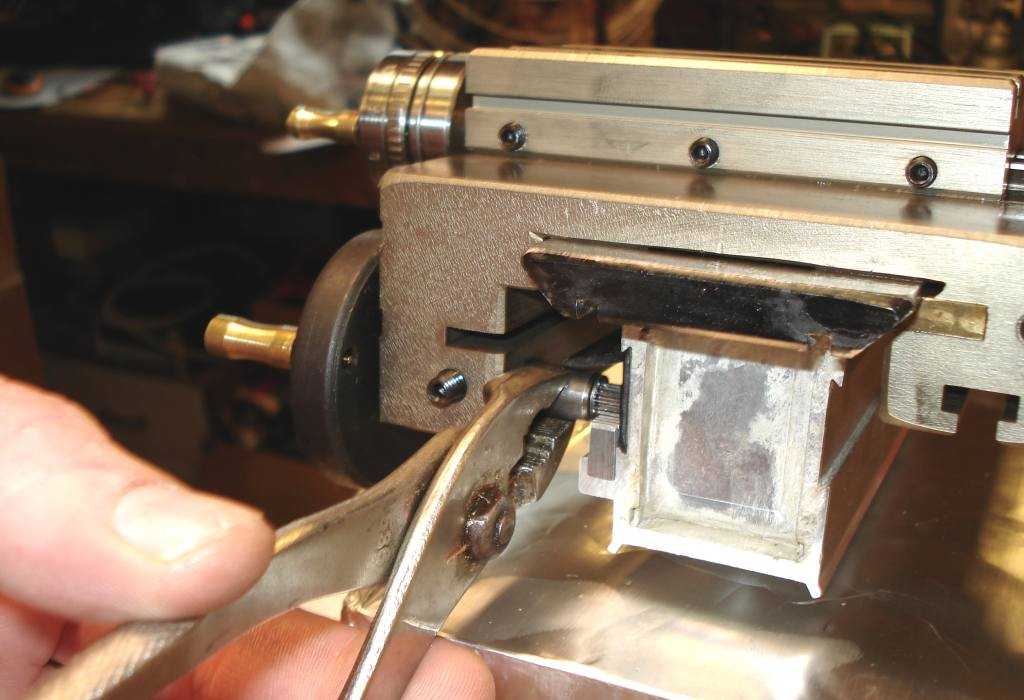 |
| I used pliers, gently(!) |
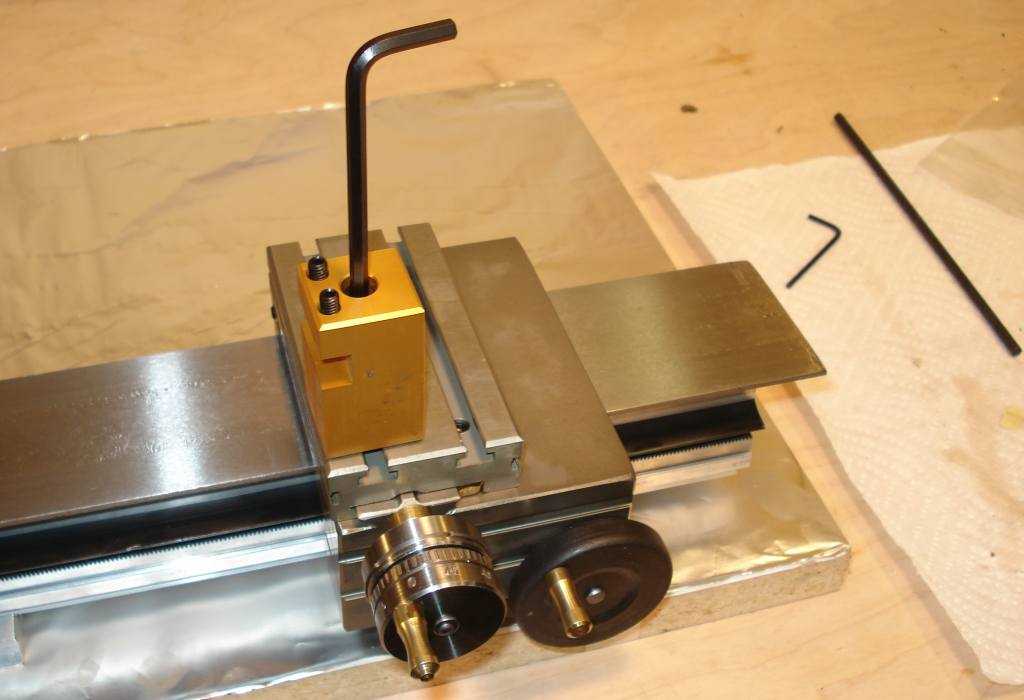 |
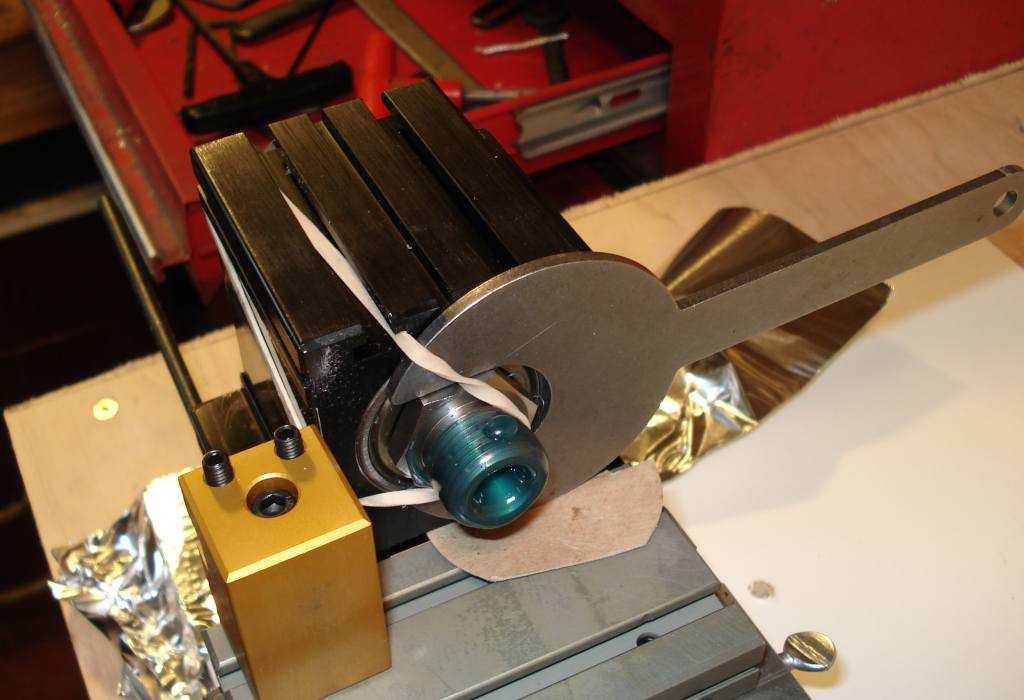
| That's how the toolpost mounts... |
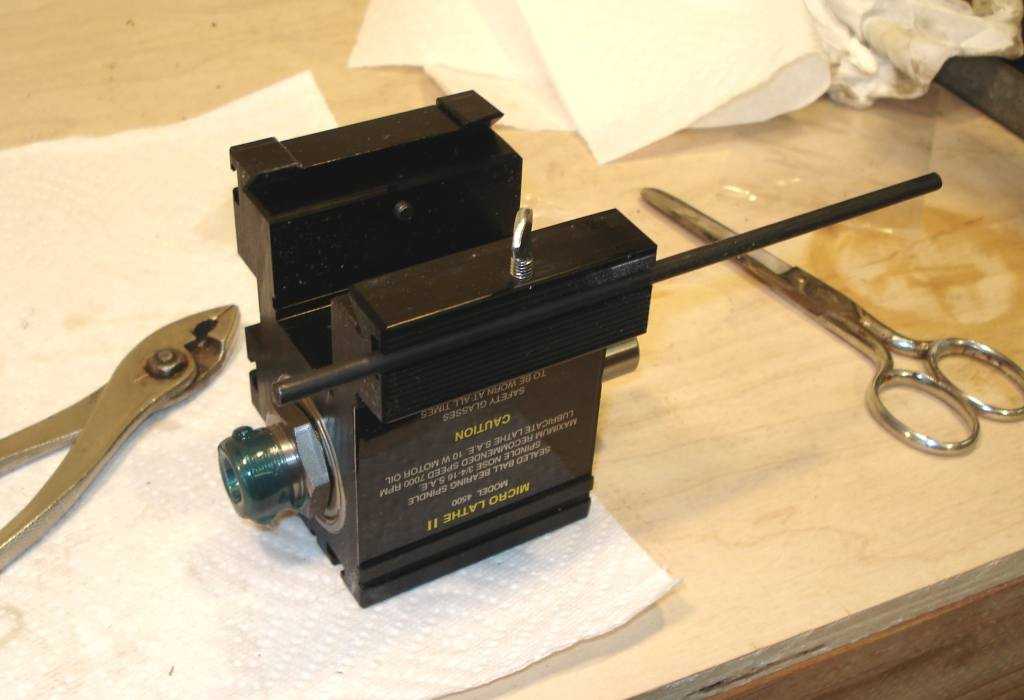 |
| Depth stop in place on the headstock. |
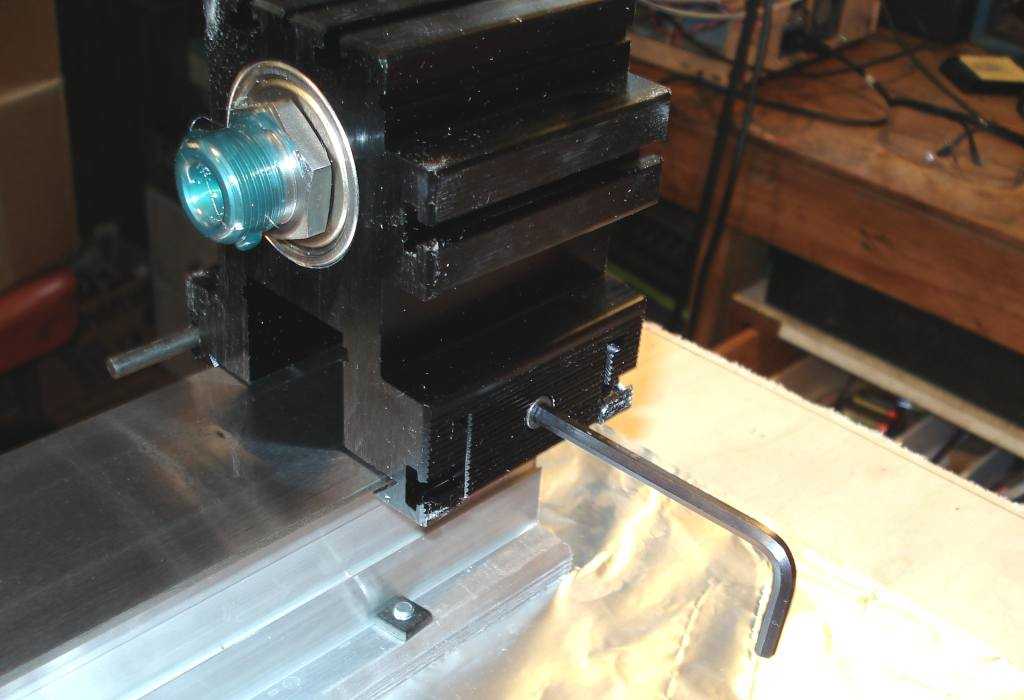 |
| One screw through the clamping shoe locks the headstock in place. |
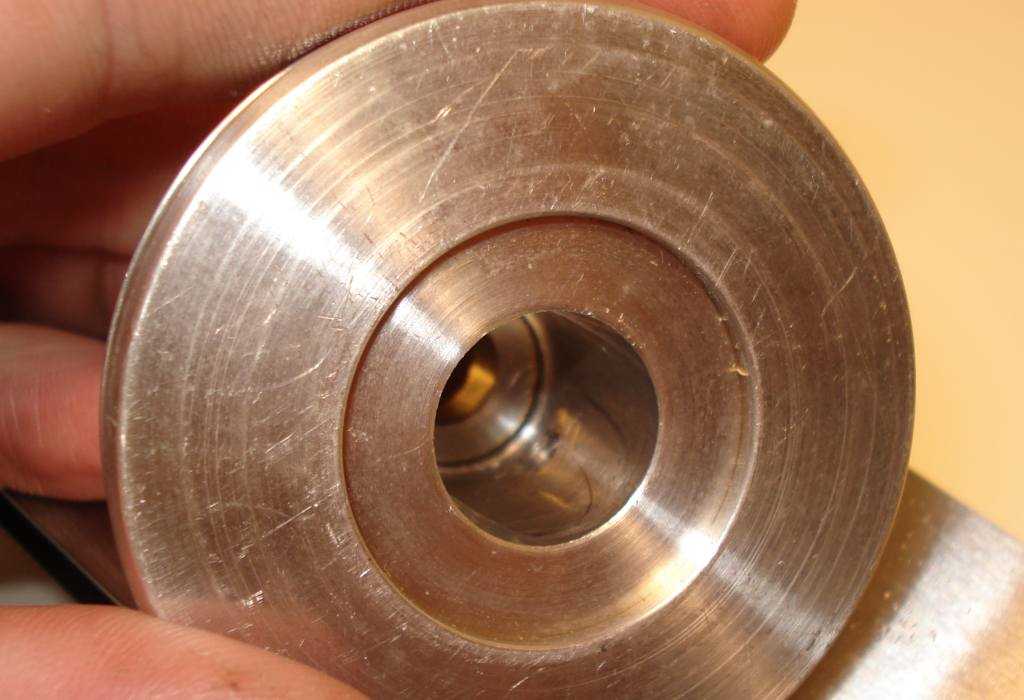 |
| You may need to debur the inside of the headstock pulley where the setscrew comes through. |
 |
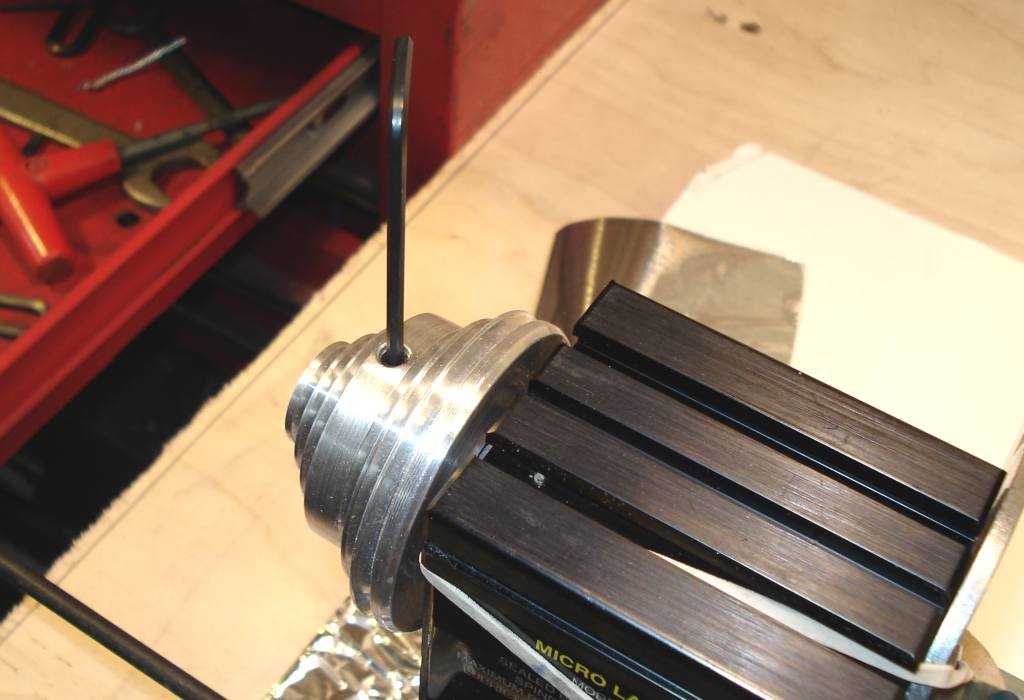
| One way to immobilize the spindle. |
 |
| So I can file a flat on the headstock shaft. Not mandatory but it makes it easier to remove the pulley later. |
 |
| Flat. |
 |
| Tightening the pulley setscrew. That's it! |