


Many people buy the Taig Lathe Kit K1019 as a way to save money and learn about the construction of a basic lathe. The kit comes complete with all the same parts as the Assembled Taig Lathe L1017 but requires both assembly and lapping in of all the various parts. Here is how I assemble the lathes, feel free to experiment...This page shows the steps setting up the latest version of the Taig lathe with the extruded aluminum (as opposed to cast) carriage, new headstock housing and updated cross slide screw. For the cast carriage version see the old setup page. I cover some topics, such as lapping, that don't seem as important with the latest version of the lathe.
|
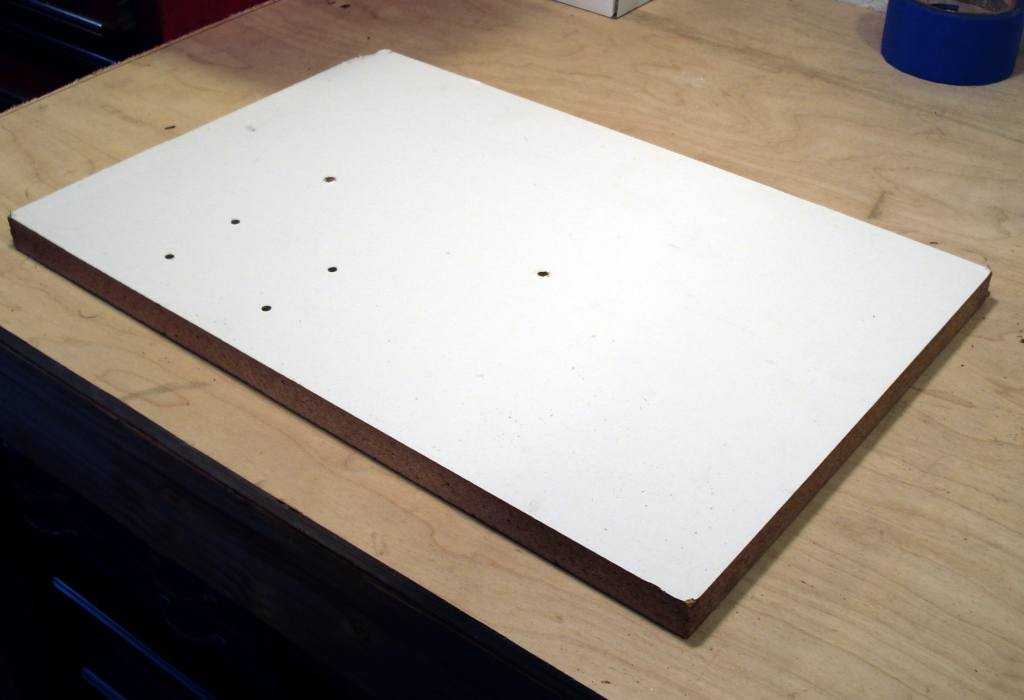
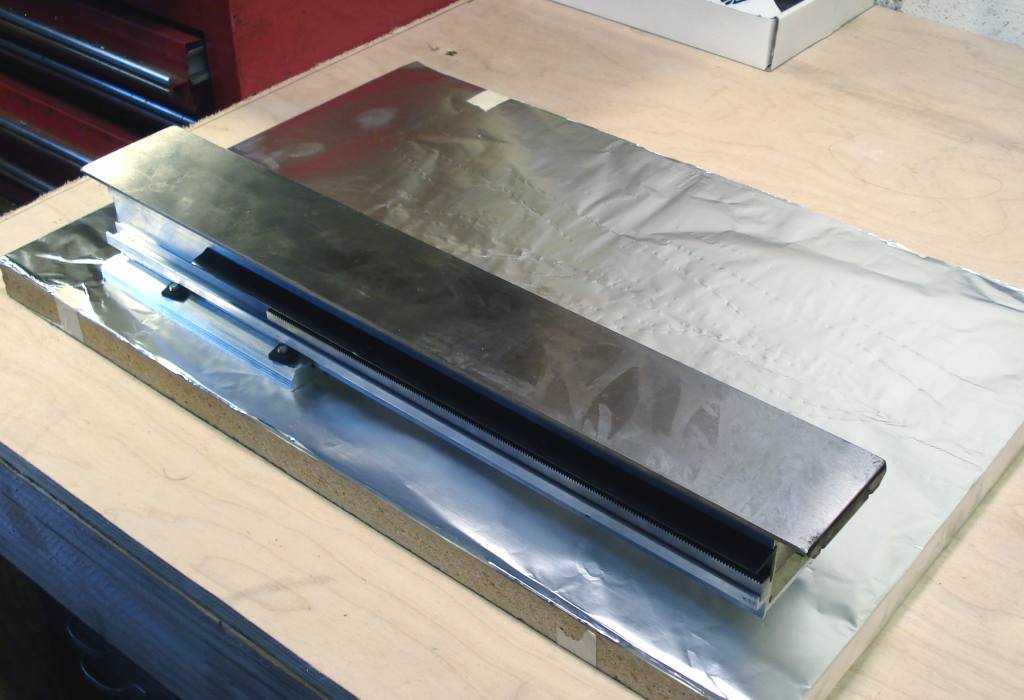
| The 1023 mounting board. Any way of holding the bed will help. |
|
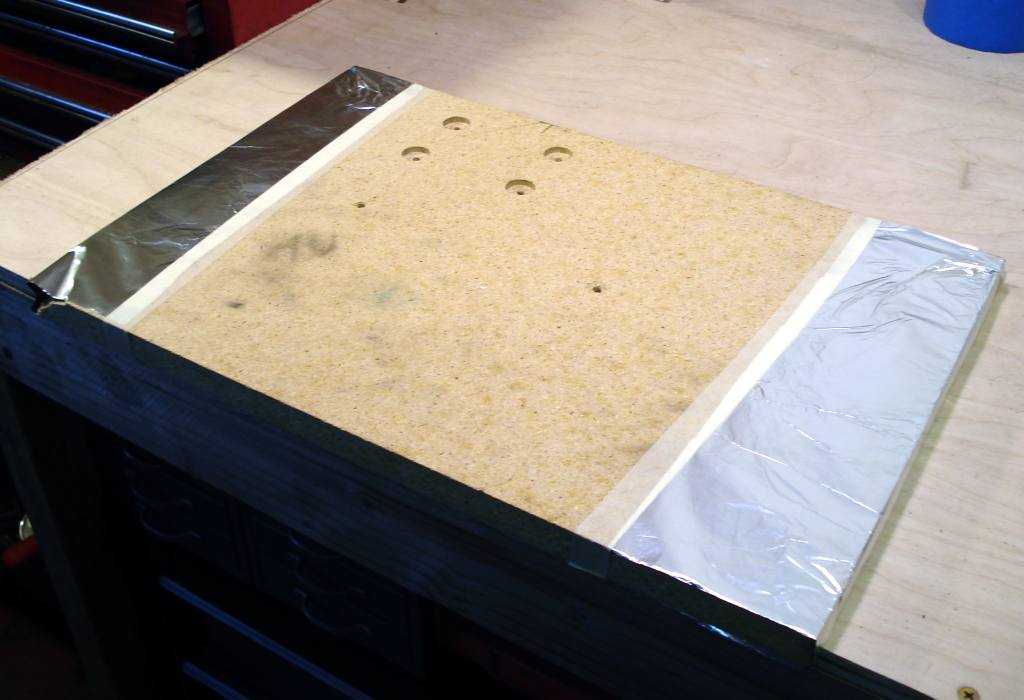
| I taped tinfoil to the surface to protect it from the slurry I used in lapping. This is not mandatory, just trying it out. |
|
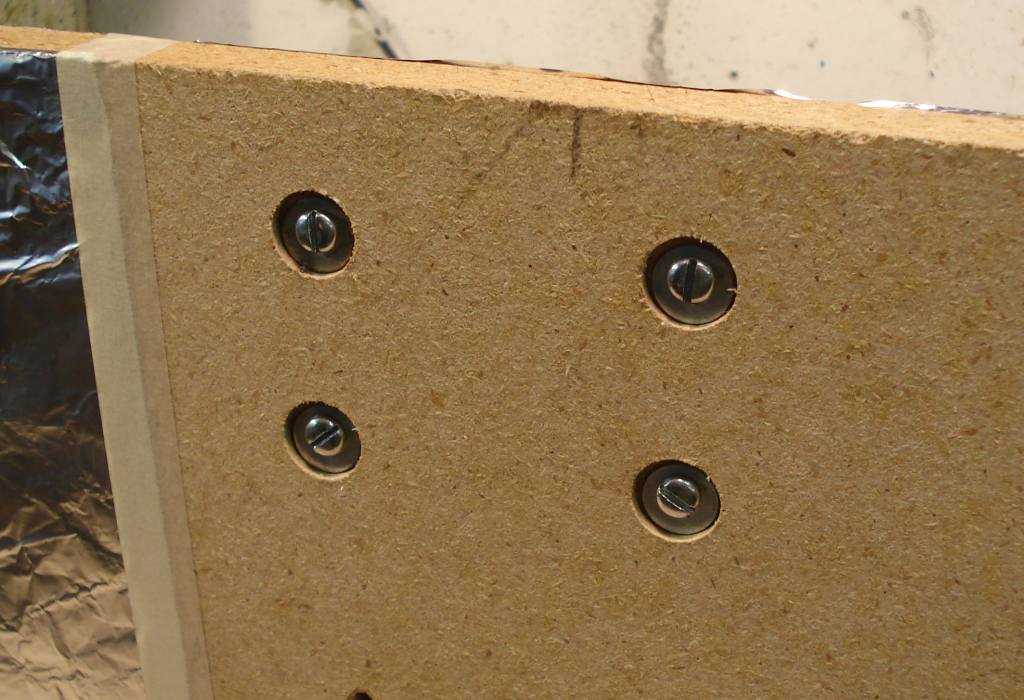
| Mounting screws through the board. |
|
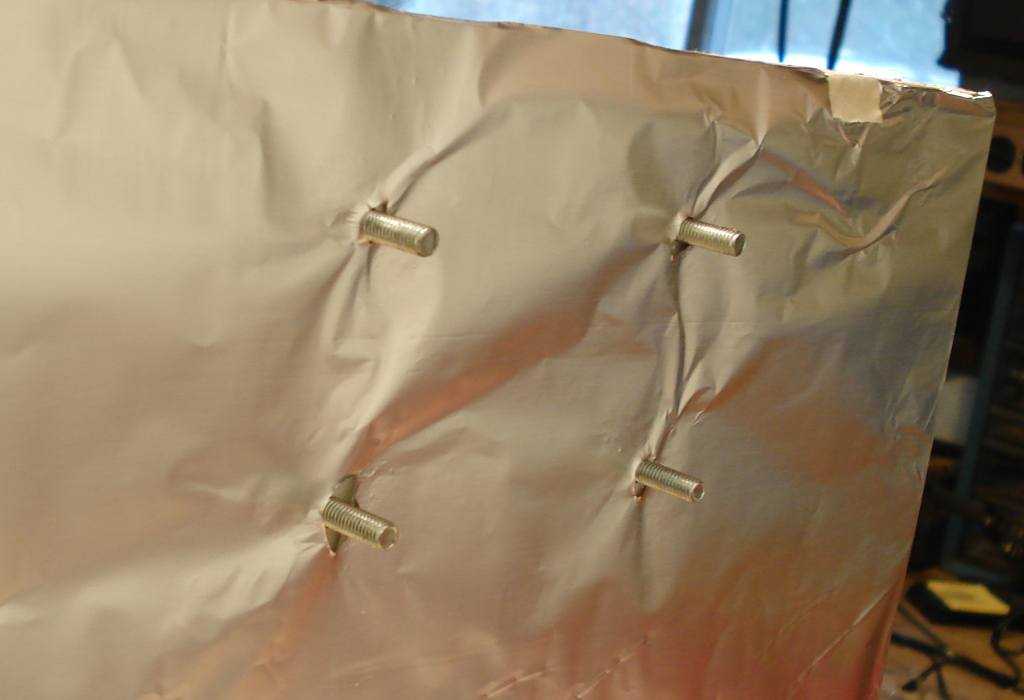
| Sticking out. |
|
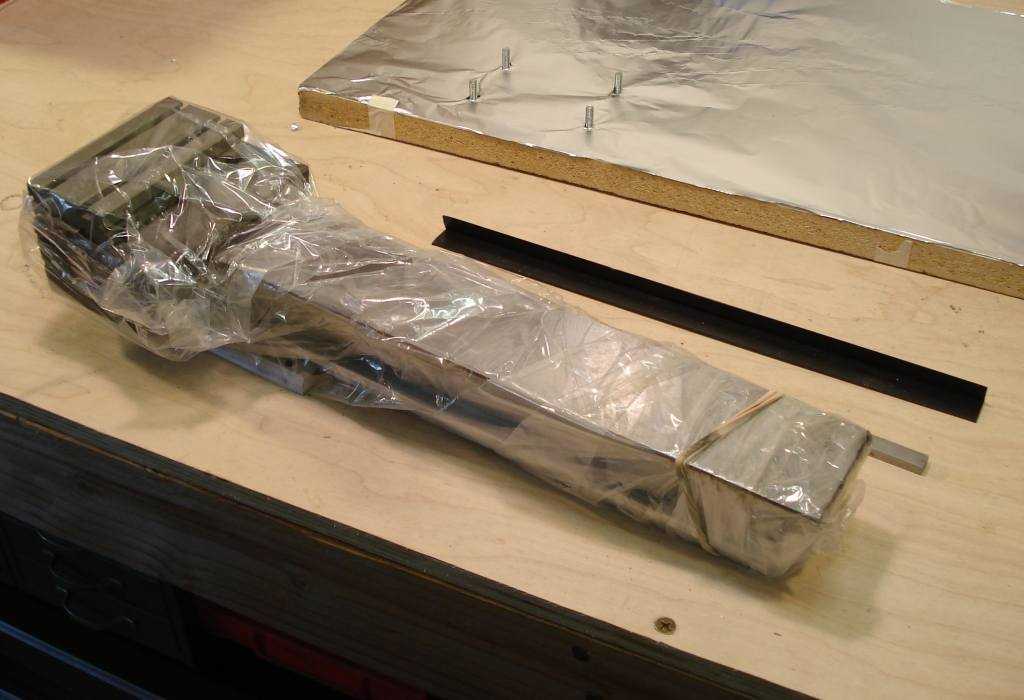
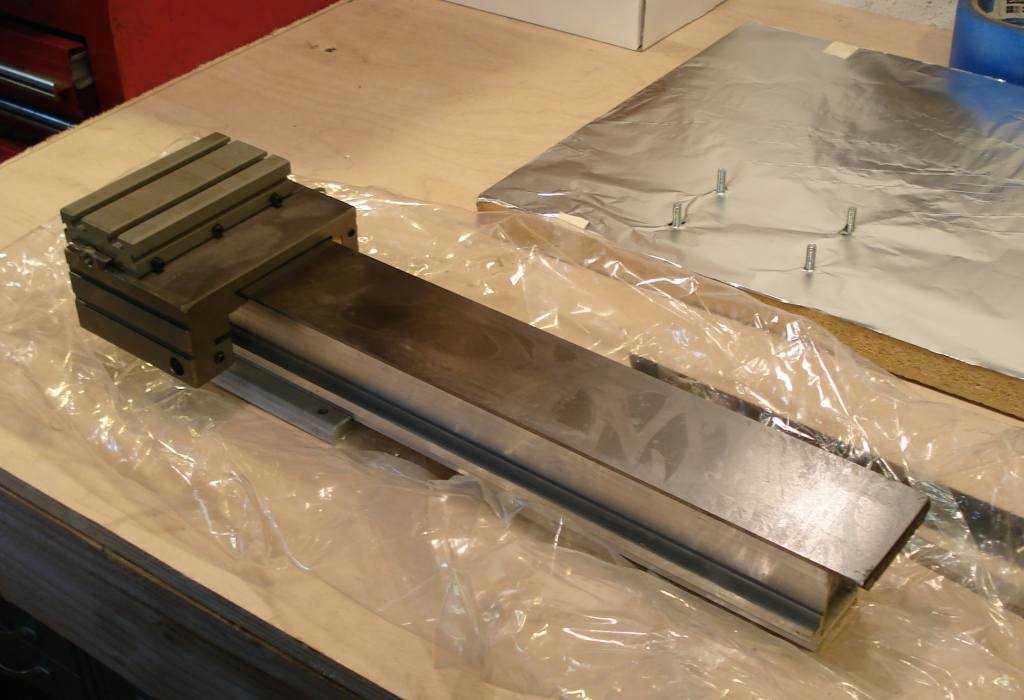
| The bed. |
|
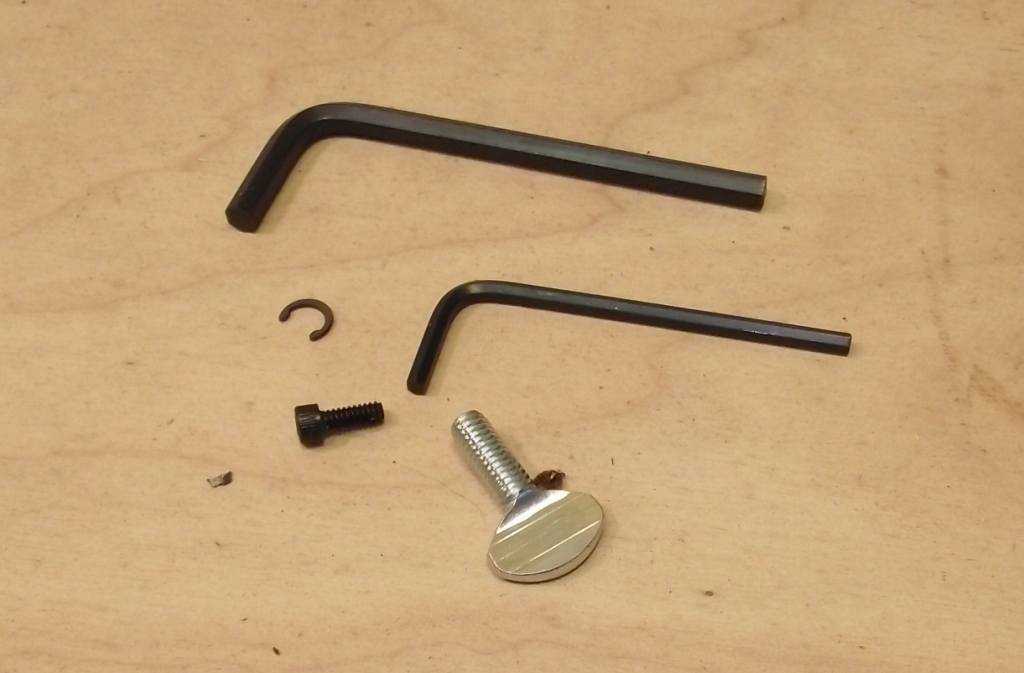
| Hardware. |
|
| Remove the carriage. |
|
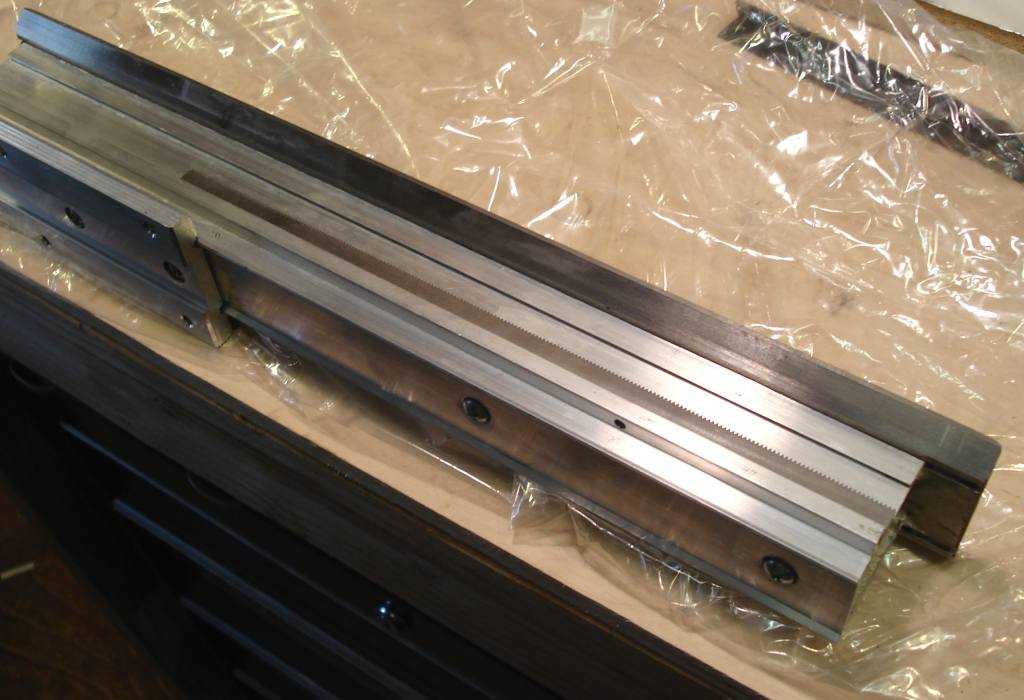
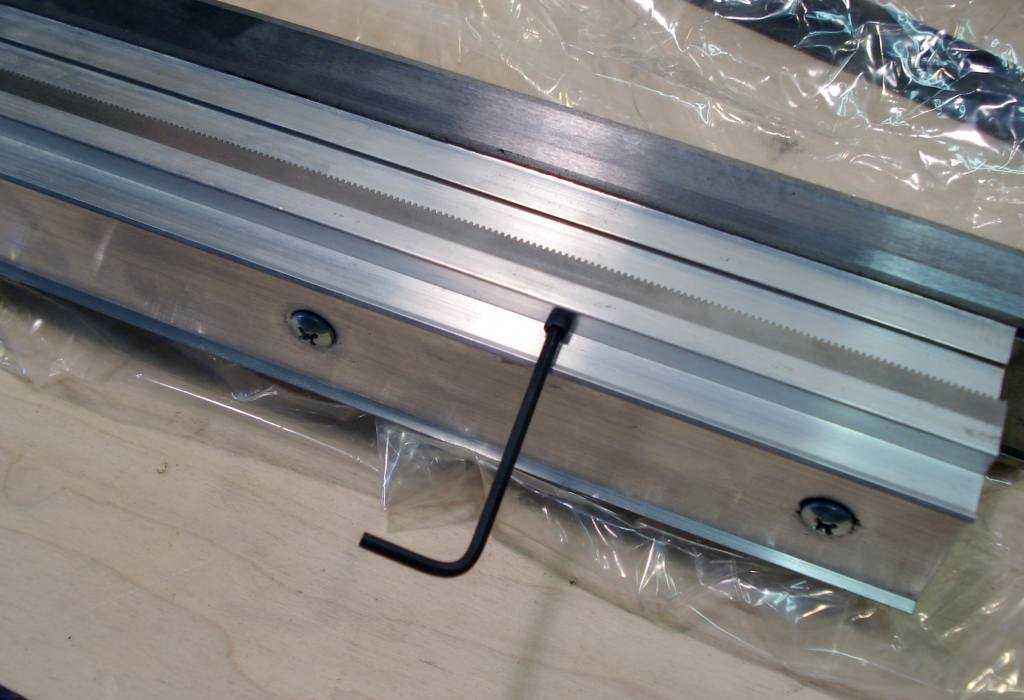
| Rack in place. Check for burrs inside the rack. Run the rack back and forth inside the channel to dislodge any other burrs, dirt, etc. Screw the rack to the lathe. |
|
| Always (generally) use the short end of the allen wrench to tighten. |
|
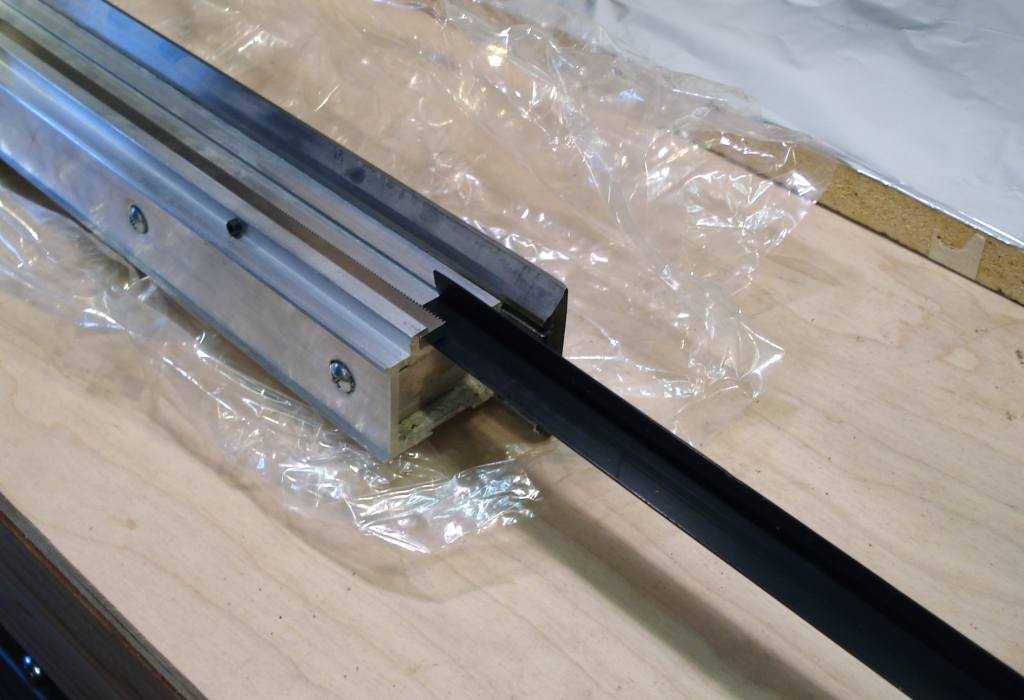
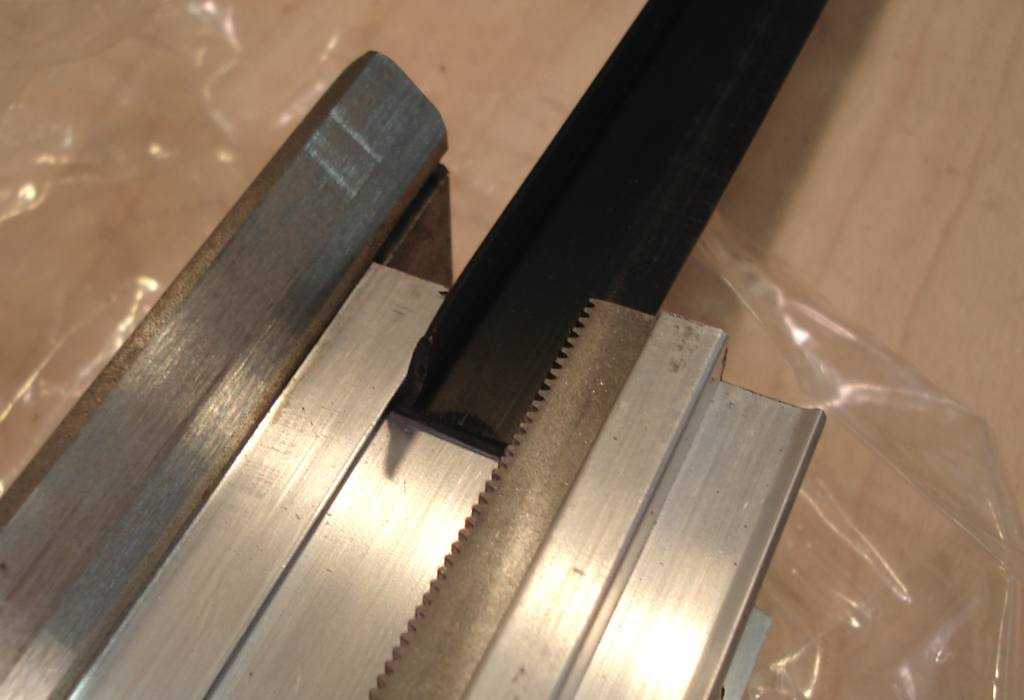
| Sliding in the rack protector. |
|
| It wedges in the thin dovetails. Bits of plastic will shave off of the edges. |
|
| Prop everything on edge. Or just hold it. You do sort of need three hands at this point. |
|
| Screwdriver... |
|
| Putting square nuts in place. |
|
| Mounted. |