 |
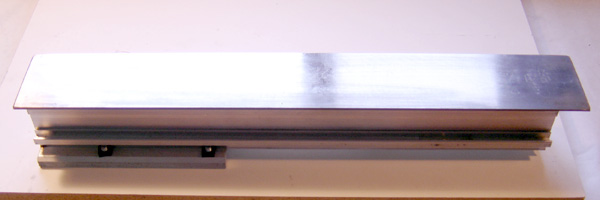
Mount the lathe bed on a solid surface (such as the mounting
board). |
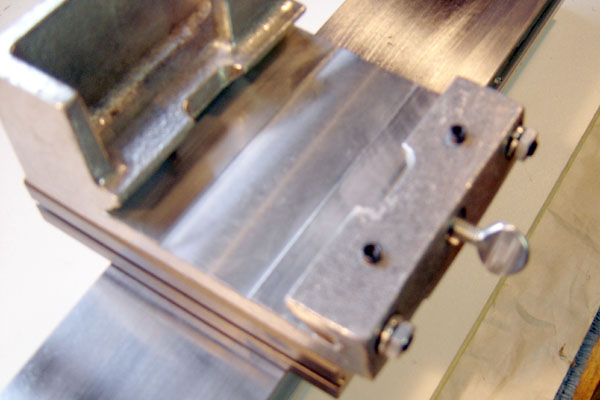 |
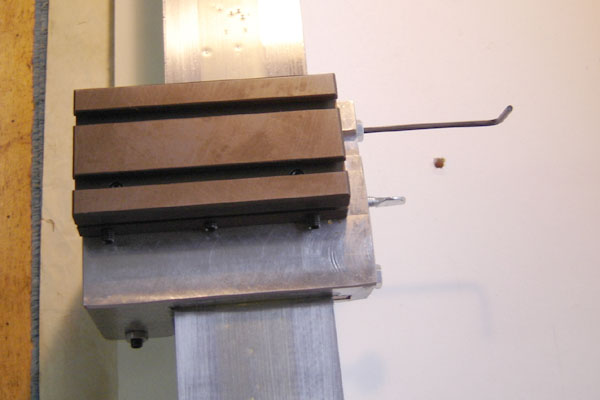
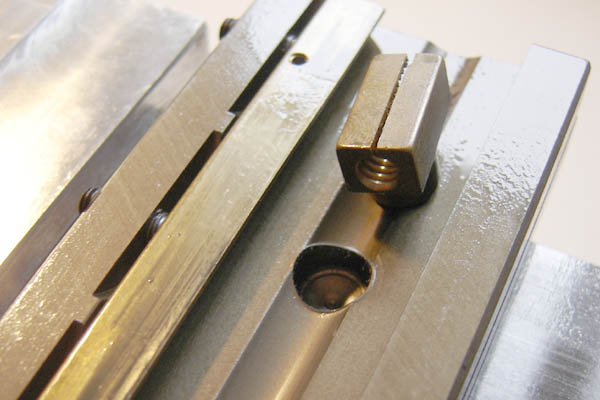
The carriage casting. Notice the two screws on the bottom,
they lock the gib in place, just tighten them until you feel resistance,
you don't want them tight. The nuts on the side lock the gib adjustment
setscrews, loosen those as well, and loosen the setscrews and the center
wingnut. |
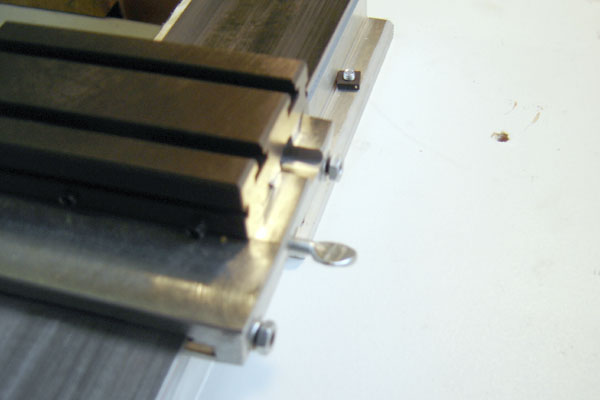 |
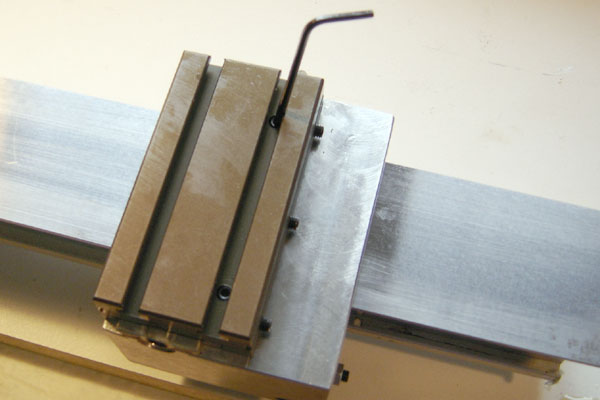
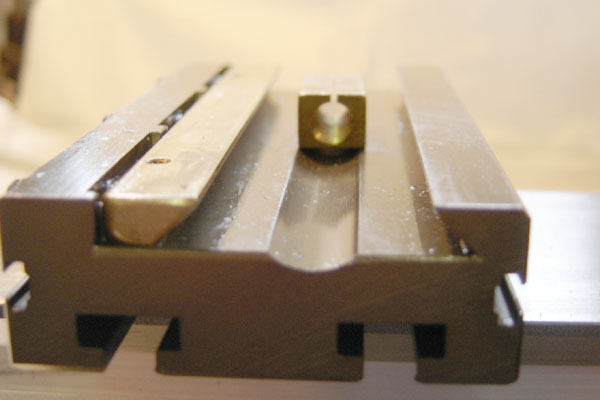
Another view showing the nuts slacked off and the carriage
mounted on the bed. At this point the setscrews should be just bearing on
the gib, but not in any way tight. |
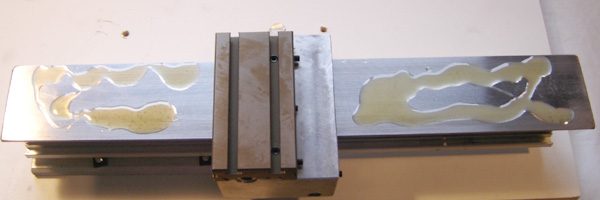 |
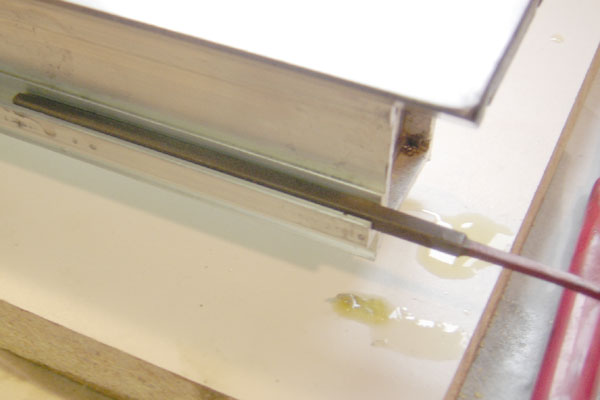
Put a mixture of oil and mild abrasive on the bed. Do not
use commercial valve lapping compounds, use a mild cleanser. I use Bon Ami
("hasn't scratched yet!") |
 |
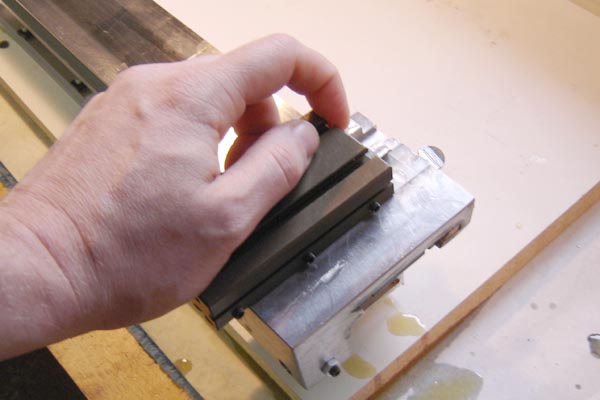
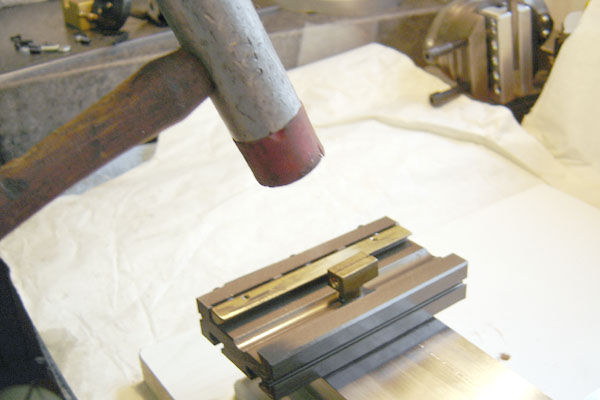
Now hold the carriage by the top and rub it back and forth
along the bed in full strokes end to end. Bear down. Do this about 20-100
times. |
 |
Tighten the gib setscrews by a tiny amount and repeat the
bed lapping again, 20 to 100 strokes, then tighten a little more and lap
a little more. Get the idea? You are progressively tightening the gibs each
cycle of lapping. Try and lap for at least 2 to 10 minutes for each cycle,
and do it until all the slack is out of the gib screws and the carriage
slides smoothly along the bed. Then clean everything of the oil and cleanser
and re-oil. The longer you lap the smoother it will function, but don't
get too obsessed. |
 |
For the cross slide the same procedure is followed. Tighten
the top screws (inside the t-slot) until they just grab, and set the side
setscrews until they just touch the gib. |
 |
Lap the cross slide back and forth just as you did the carriage.
Keep tightening the gib screws and lapping. Lather - Rinse - Repeat - oh
wait , that's shampoo. Just repeat the cycles of lapping and tightening
until it seems smoother or your arm is too tired to continue. |
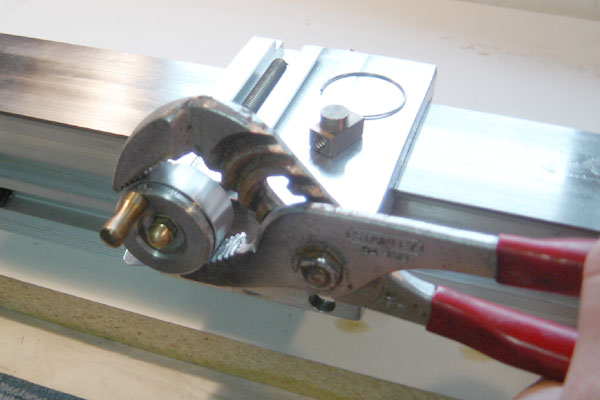 |
Mount the cross slide screw and bearing. If it won't screw
all the way in with your hand (and your hands are likely oily now!), remove
the round clip and wrap the bearing with some aluminum or copper sheet (say
a piece of soda can aluminum) and tighten it carefully with some pliers.
Do not mar the screw bearing! Don't use vise grips as they will bite through
the sheet. |
 |
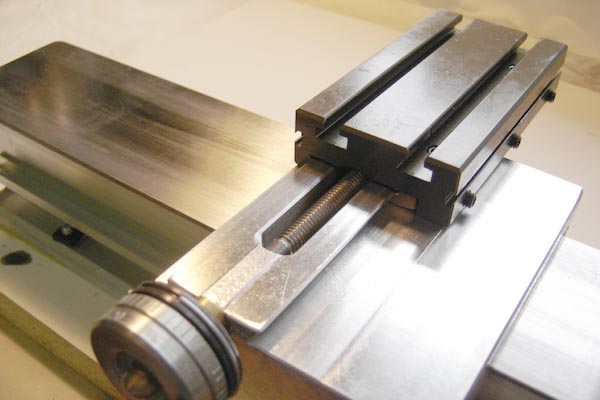
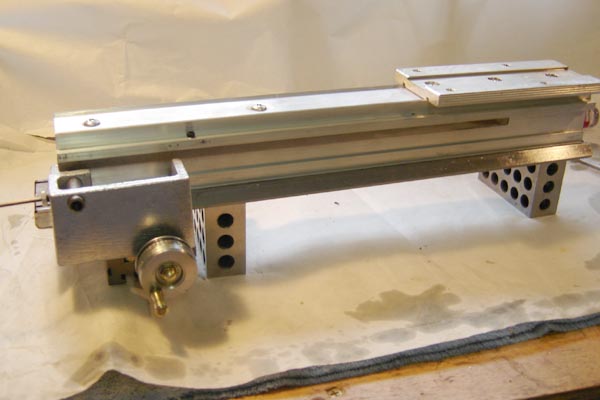
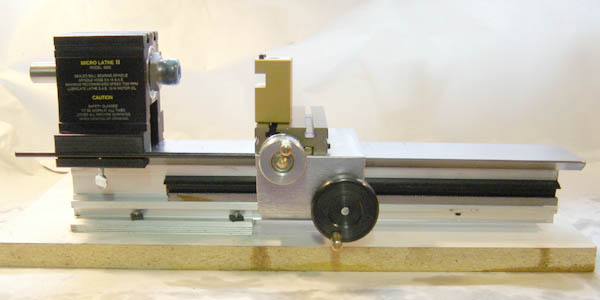
This is what it should look like when fully assembled. Notice the nut
over on the carriage top.
NOTE: The cross slide screw assembly now looks different, will update
soon. Assembly is the same however.
|
 |
The mounting hole and the nut, you want the long end facing
away from the front of the lathe. There is usually a burr in the hole and
the nut post may be a bit tight, some creative deburring will make assembly
easier. Although the factory does not recommend it, I find lightly filing
or sanding the post to reduce it's diameter helps with assembly. You don't
want it loose in the hole but the factory sometimes supplies it very tight
and that can hinder adjustment. |
 |
Press or hammer (with a soft hammer!) the nut into the hole.
Try not to accidentally crush the nut sides together as it will make it
too tight on the screw. |
 |
Make sure the nut is parallel to the cross slide. |
 |
You can tweak it side to side with a wrench. Be careful! You
do not want to whack the wrench into the sides of the dovetails. |
 |
Screw the cross slide onto the carriage. You will probably
notice some roughness here, generally it will go away after you use the
lathe for a few weeks. Sometimes people think the screw is bent, but the
screw has enough play in the bearing that it has some wiggle side to side.
|
 |
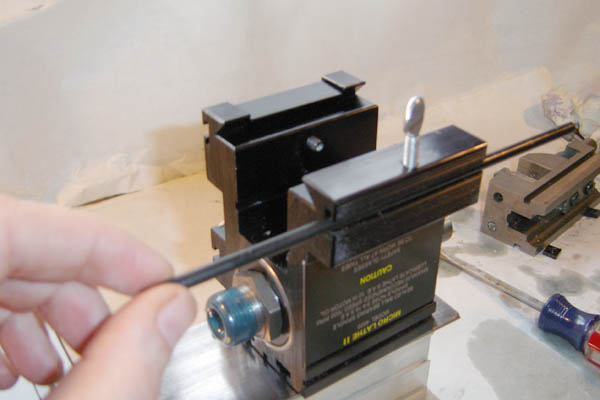
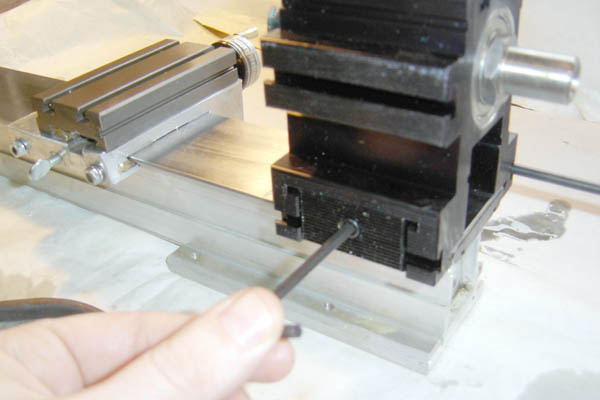
There is usually a small burr inside the rack channel where
the mounting hole comes through. File it off. Be careful. |
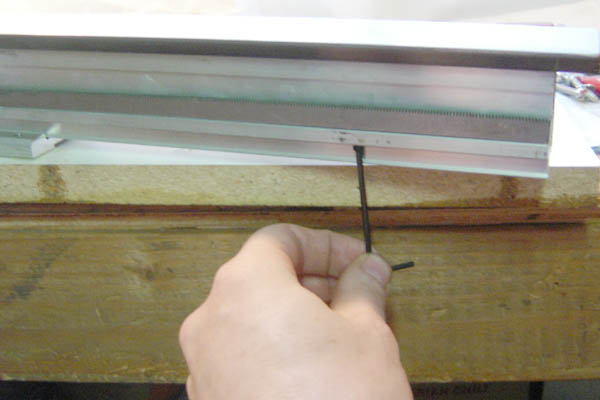 |
Run the rack back and forth inside the channel to dislodge
any other burrs, dirt, etc. Screw the rack to the lathe. |
 |
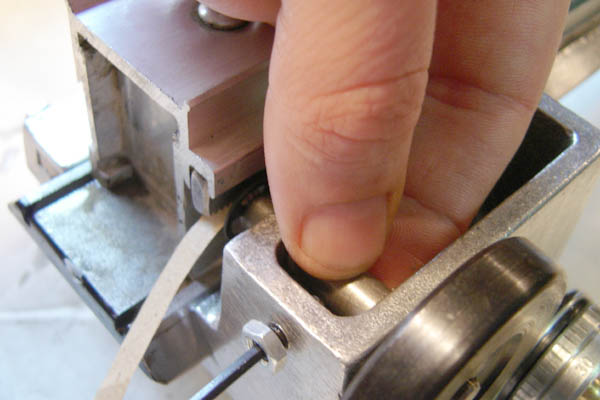
Insert the eccentric bushing in the carriage. Make sure the
thick side is against the locking screw. Loosen the locking screw. |
 |
It is easiest to put the lathe upside down for this next operation. |
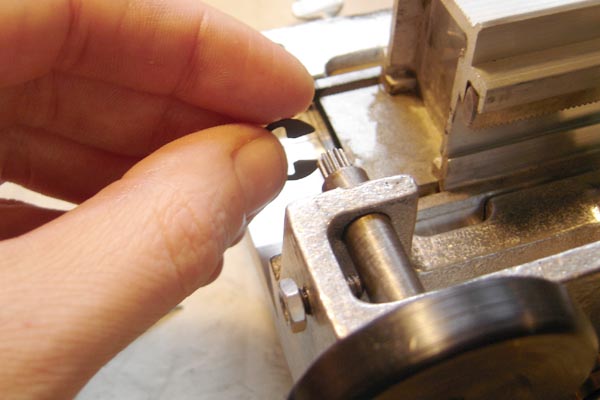 |
Insert the carriage pinion and handle into the bushing and slide the
c-clip onto the pinion gear. The ears of the c-clip will kind of slide
into the pinion grooves.
I leave the c-clip off of my lathe as it makes it easier to remove for
cleaning and adjustment.
|
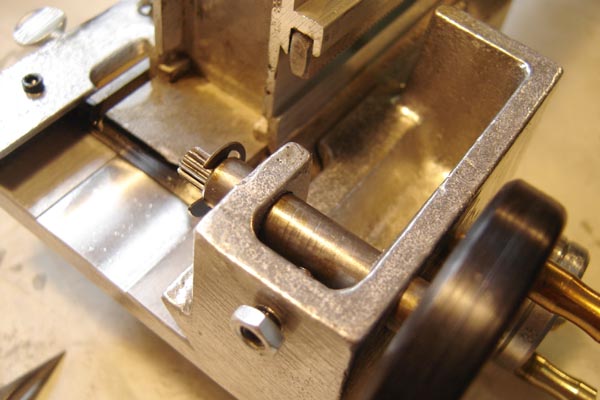 |
How it should look once assembled. |
 |
Insert a thin strip of rolling or typing paper between the pinion gear
and the rack and rotate the eccentric bushing until you feel the pinion
against the rack. Not too tight! Better too loose than too tight. The
paper ensures that there will be clearance between the two.
Tighten the setscrew against the eccentric bushing and lock the screw
with the nut. Run the carriage back and forth and check to see if it binds,
if it does readjust the eccentric so the clearances are looser.
|
 |
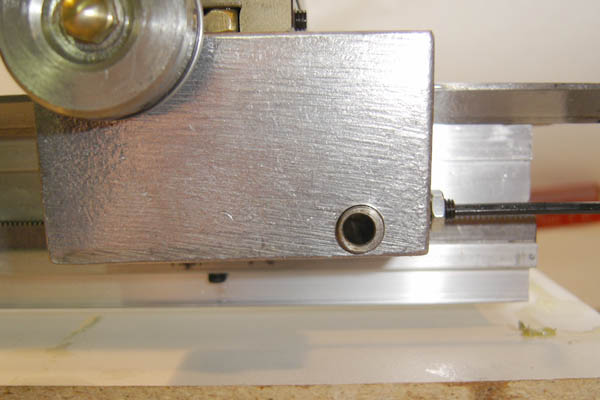
Insert the depth stop into the front t-slot of the headstock
and screw the thumbscrew into the headstock. |
 |
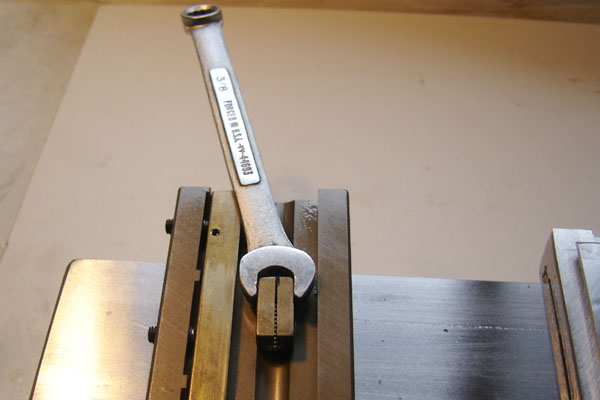
Lock the headstock to the bed, don't reef down on the wrench,
tighten with the small end and it will be on tight. |
 |
Mount the Toolpost. |
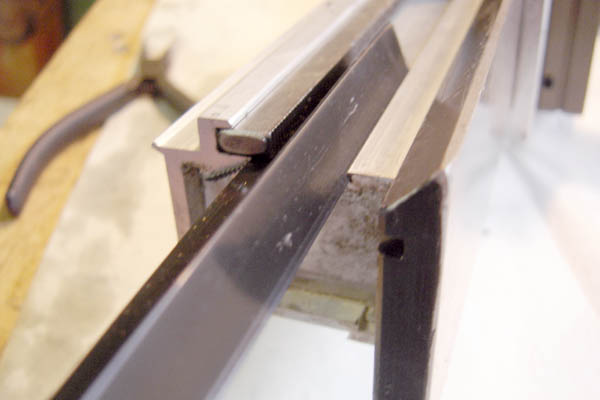 |
Slide the rack protector into the tiny dovetail channel, take
care as it is tight and it can slip and you will bust your knuckles. |
 |
All done! |